
I'm to the point where I am just over the hot temperatures.
Whenever I get to this point, I like to make my house look like fall has arrived,
while praying that the decor will bring in some cooler temps.
Unfortunately, it doesn't usually work out in my favor.
*Last year I got to this point and made this wreath.
That was at the end of September.
Not a good sign.
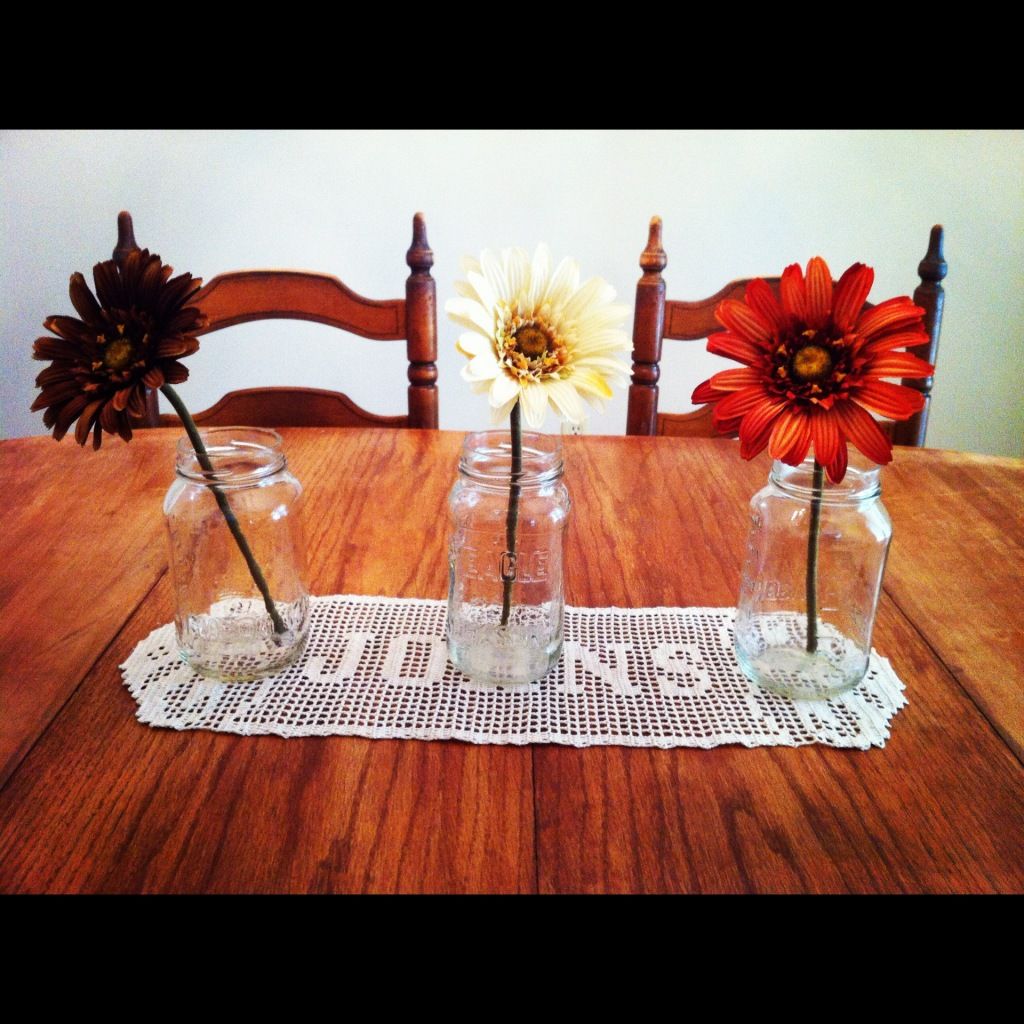
Friday I dressed up our dining table a little bit, and added a touch of fall.
Don't those flowers just make you so happy?
And they were half off at Hobby Lobby, which made Michael happy!
On Saturday, Michael and I both had the entire day with nothing on the schedule.
God bless days like this!
Michael decided to clean out some closets and make order of the mess we made when we moved in over a year ago.
And I decided to make a new fall wreath for the front door.
I saw this one on Pinterest a couple of weeks ago, and have been drooling ever since.
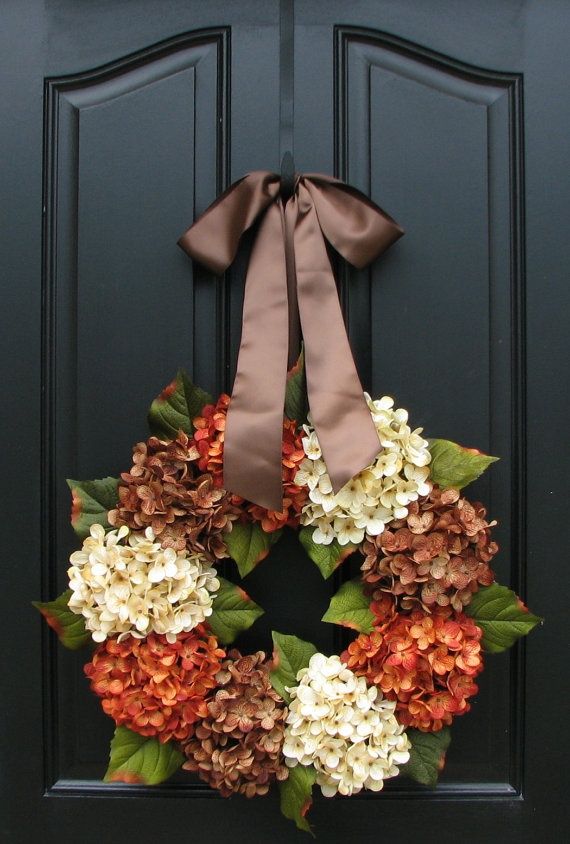
It is from this site, and currently selling for $85.
Um, that's not going to happen.
Especially when it is something that looks that easy to make.
I love it though.
Mostly because it is made of hydrangeas, and they are my favorite right now.
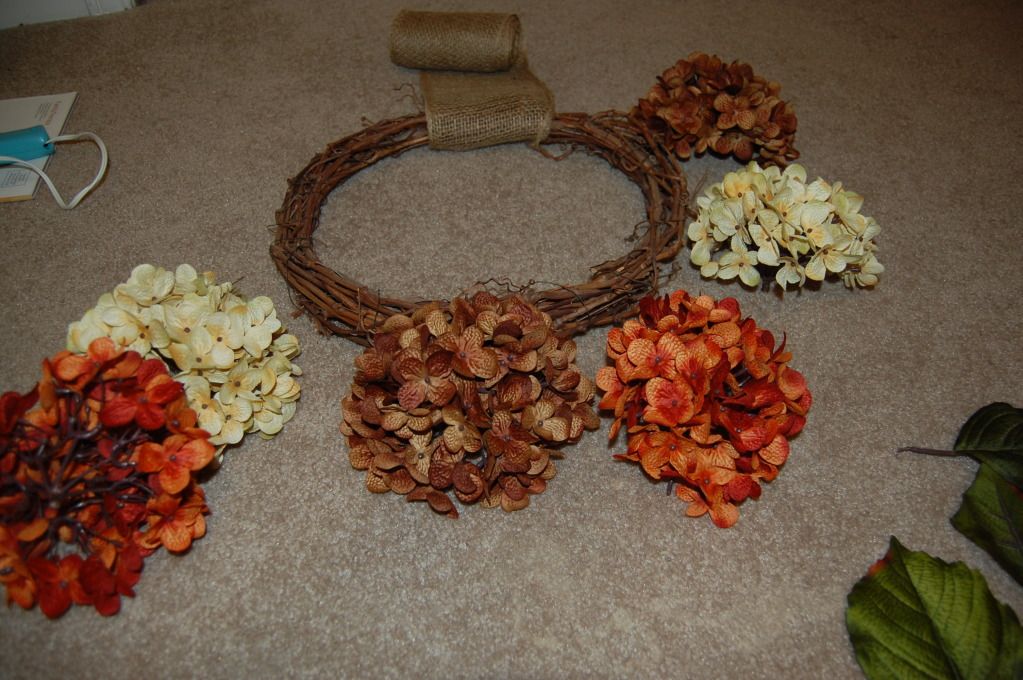
Like I said, the florals at Hobby Lobby were on sale, so it was the perfect time to DIY this wreath.
However, even with the 50% off, the flowers were still $3 each.
So, I did not get as many as the wreath in the picture.
I just got 2 of each color ($18) and it worked out just fine!
Here is how to make it:
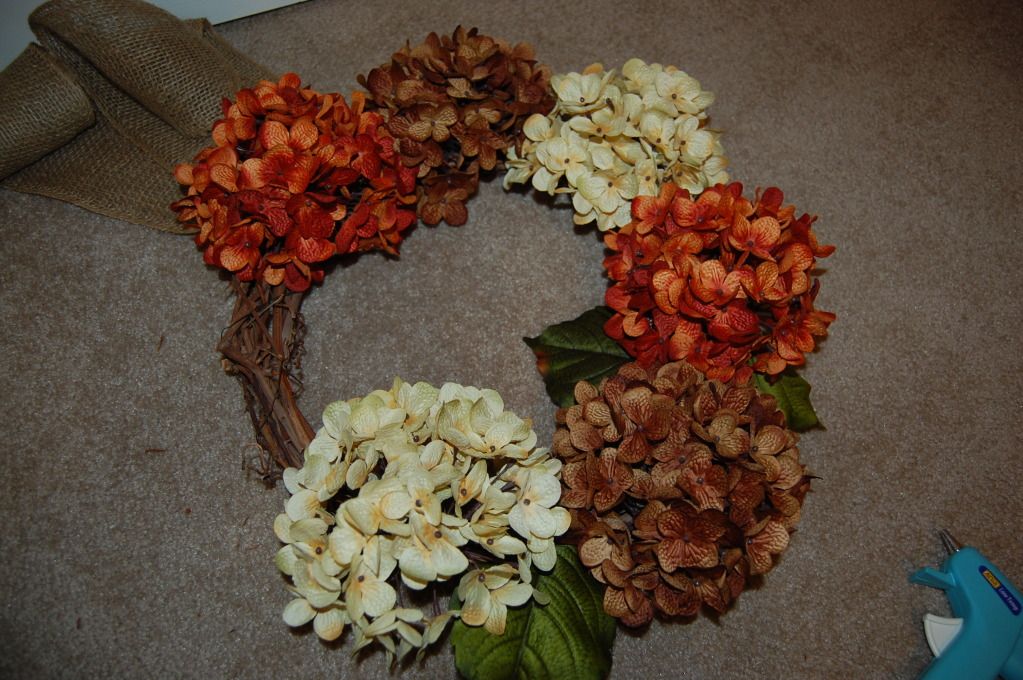
I started with a plain, grapevine wreath my mom had given me last spring.
First, I laid out the flowers around the wreath, just to make sure it would cover.

Next, I took the flowers and leaves off of the sticks.
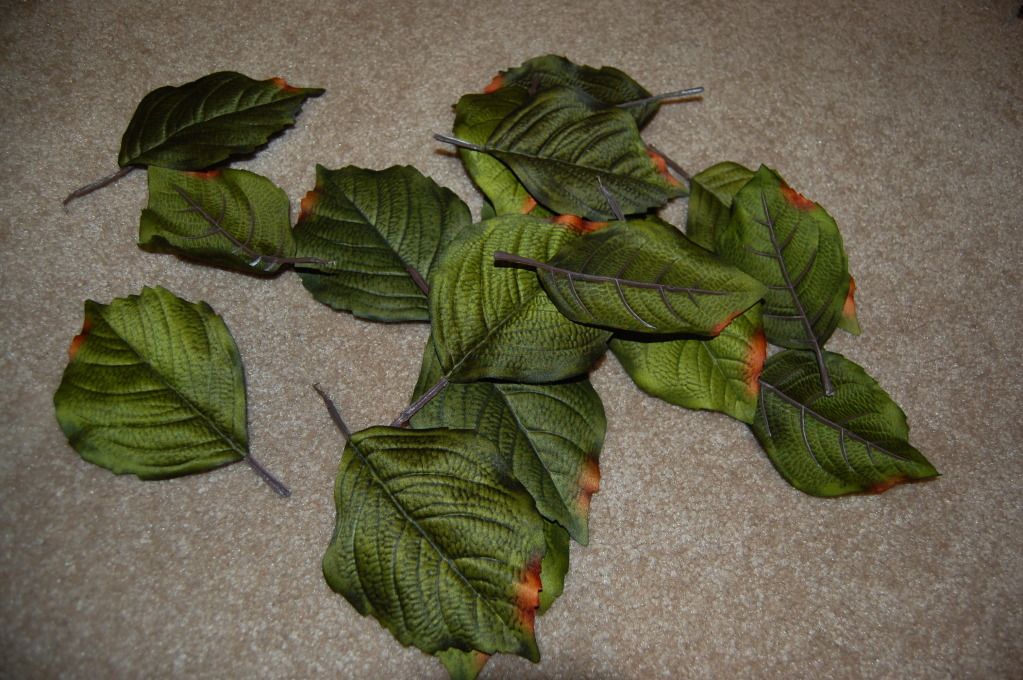
The leaves were easy - the flowers a little tricky.
I discovered that it works best when you leave about 1/4 inch of stick attached to the flower.
This gives you something to put in between the vines of the wreath,
while keeping the flower from looking smashed.
If you do end up pulling the flower right off the stick, just be sure to hot glue the two parts together before gluing to the wreath.
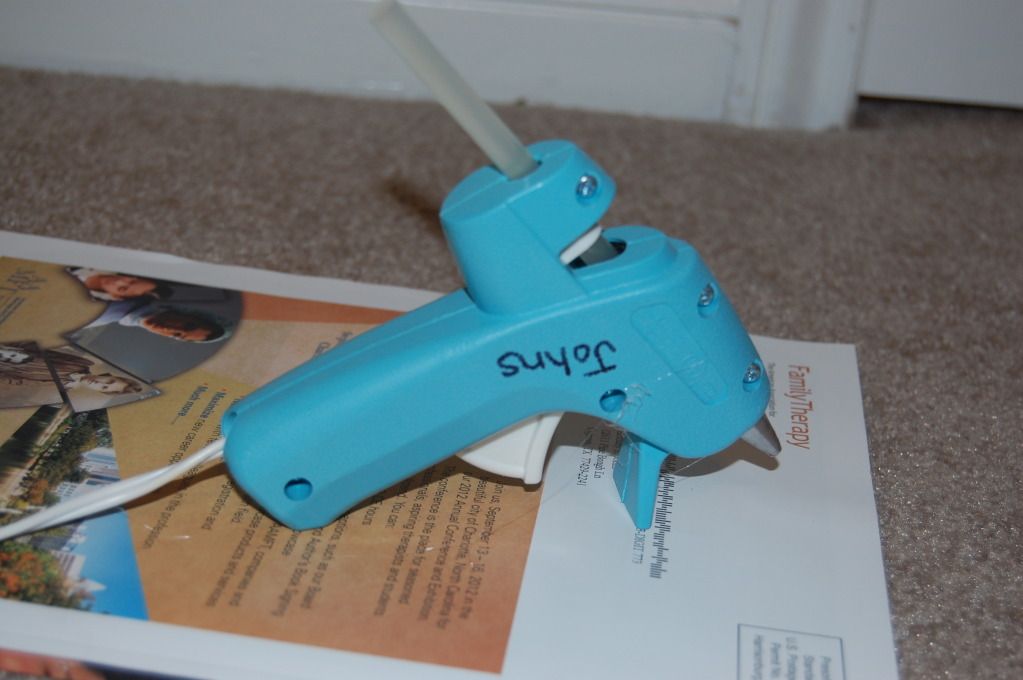
Now you will need a hot glue gun.
I've had mine since college and I use it for EVERYTHING!
Make your way around the wreath gluing each flower into place.
*I kept mine sitting next to the wreath while I glued, so I would leave enough space.
Once all the flowers are glued on, you can start filling in the blank spots with leaves.
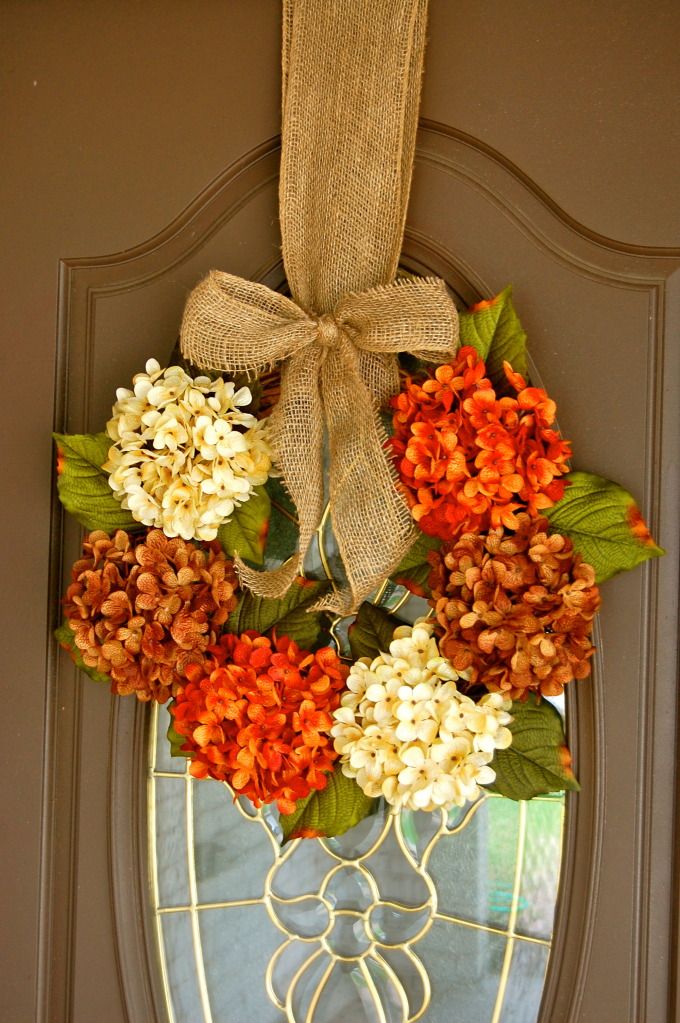
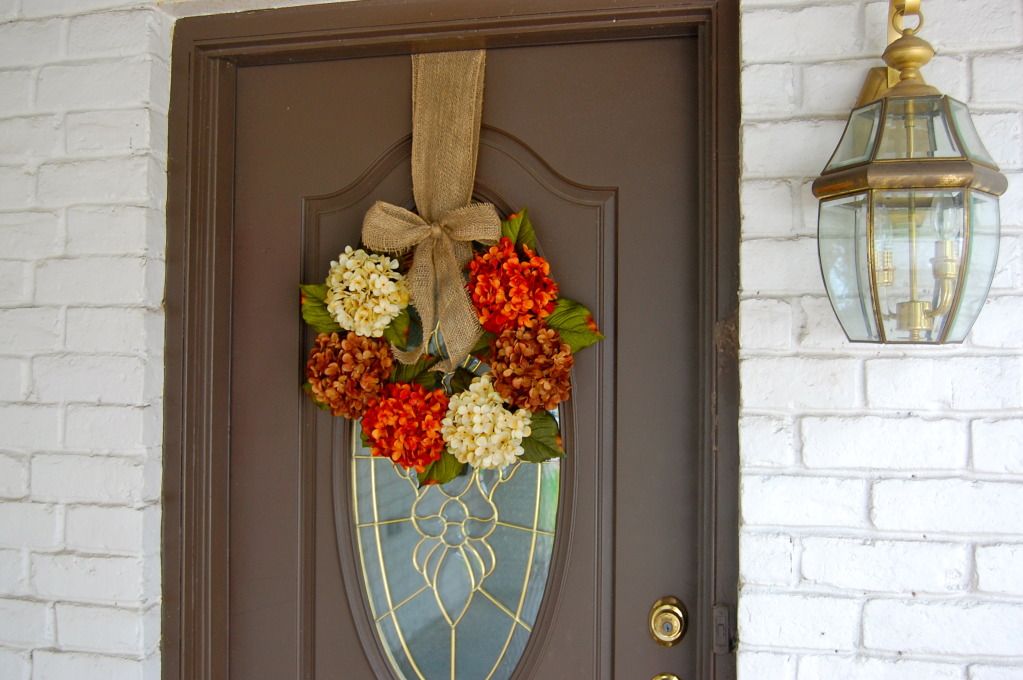
Last is the ribbon/bow.
You can do this a few different ways.
If you have a door hanger (like the original Pinterest photo) you can just cut as much burlap as you need and tie it in a bow about the hanger's hook.
I do not have a door hanger, and I didn't want to spend money on one,
so I just stuck with my trusty Command hook, upside down on the inside of the door.
*This also prevents theft, if you're worried about that.
I measured the burlap (4 inch ribbon), and tied it at the end to hang on the hook.
Then I took another piece of buralp, and cut it in half lengthwise.
I tied this piece of material in a bow around the hanging burlap, after I had hung it on the door.
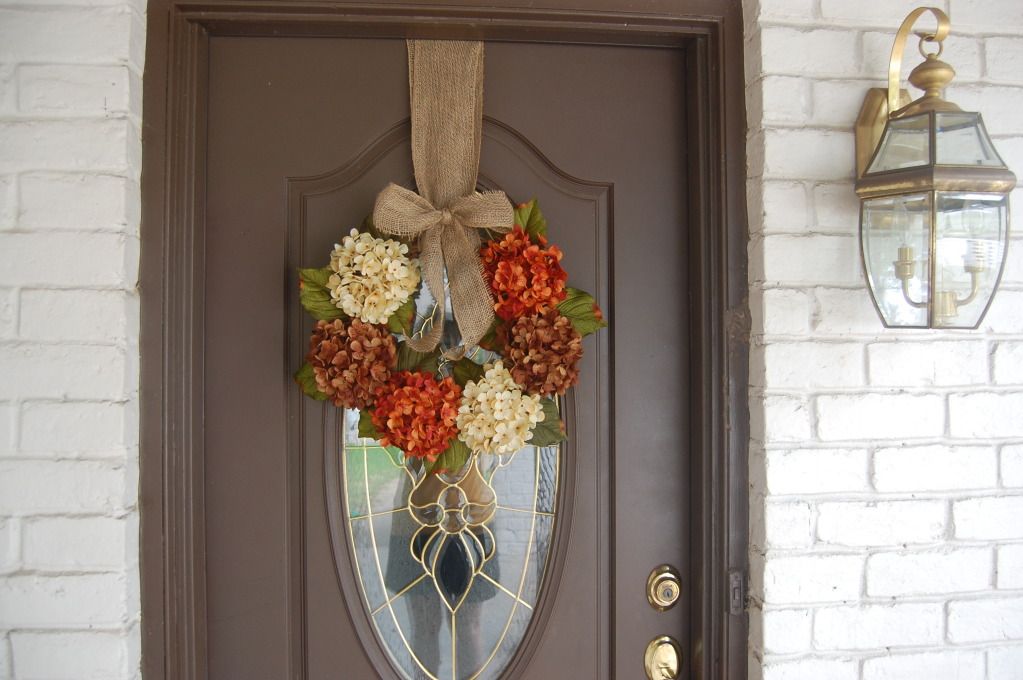
Yep, that's me in the window - embarrassing!
That's it!
Isn't it simple?
Altogether it only cost me between $20-25 because I already had the wreath.
That's about a quarter the cost of the one on Etsy!
Which makes me love it even more!
Happy (almost) Fall to you all!!
The wreath looks wonderful, and in perfect fall taste!
ReplyDeleteYou made that table look good! And duh i love that wreath! its amazing just like you!
ReplyDelete